 |
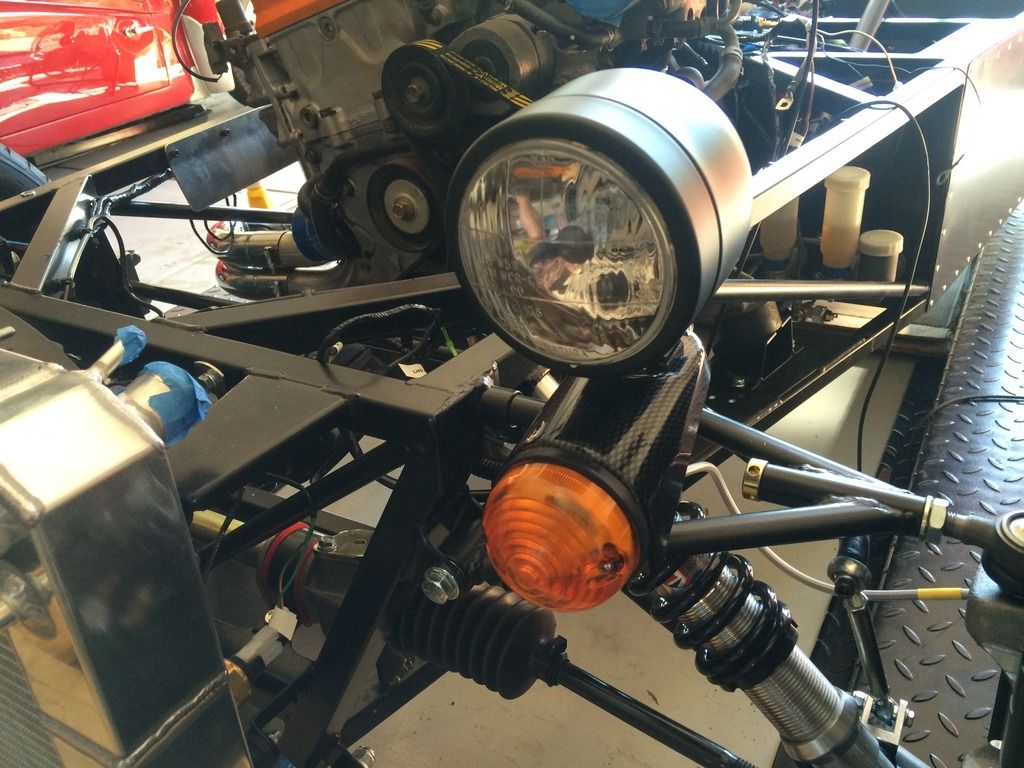
| You can tell which is the indicator because it is orange and it flashes. That really is a tiny headlight |
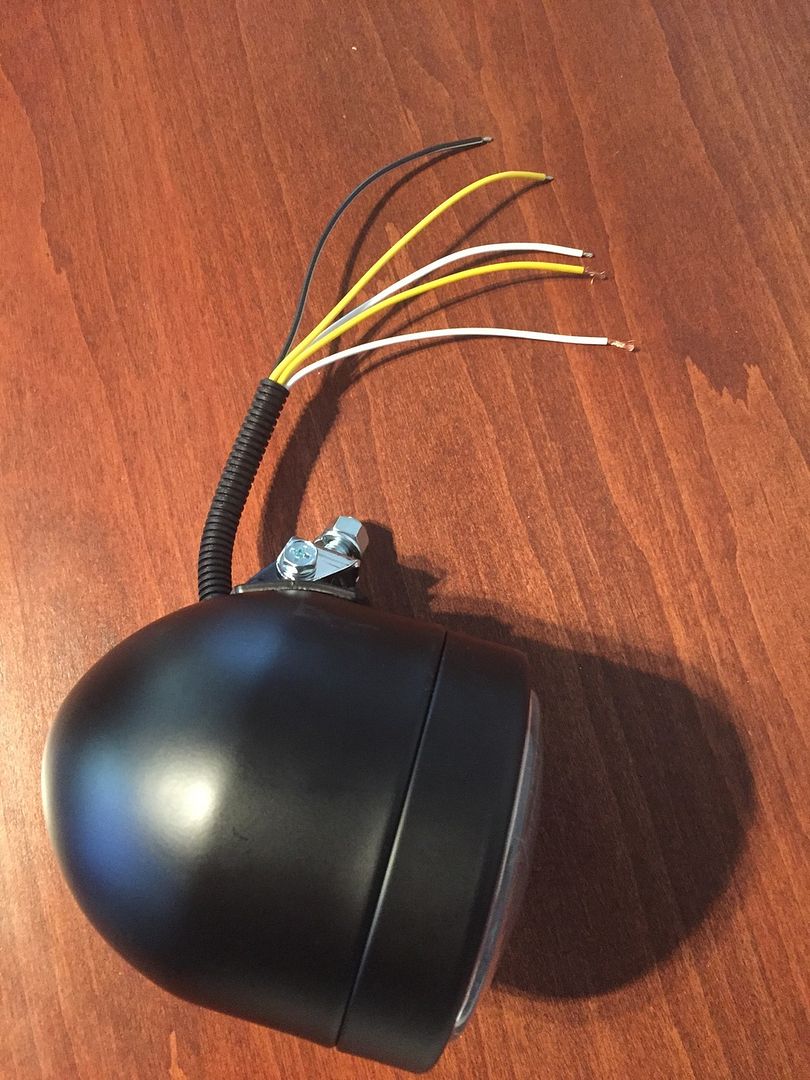
The wires are as follows:
Black - earth from H4 bulb
White - low beam from H4 bulb
Yellow - High beam from H4 bulb
Yellow - side light
Cream (actually it looks white) - earth from side lamp.
Quite why it needs to have two yellows and two whites is beyond me, but the sidelight yellow and white (cream) wires were the non-tinned wires (the bottom two in the picture below). It's easy to check which are the sidelights by using a 9v battery.
 |
| Black, yellow, white, yellow, white. There are other colors, you know. |
Black - earth
Blue/slate - high beam
Blue/pink - low beam
Red/orange / Red/black - side light
Making up the connectors is easy, as long as you have the correct crimper. Just splice together the black and yellow (sidelight) wires first. Will do the connectors for the rear lights tomorrow.
Have decided to combine everything in the six-pin connectors, rather than having separate connectors for the fog and reversing light. The six-pin plugs on the harness are already wired for the fog and reverse lights (they are just on the opposite side of the car to the two pin connectors) - I think - all I need to do is have the fog lamp on the left instead of on the right where it is at the moment (and which makes more sense for a LHD car) and the six pin plug has the red/blue wire ready for it. Same on the other side for the reversing light - there is a green/brown wire there. Not sure why the harness is made up the way it is with multiple options - perhaps for different types of cars. The approach I am taking just makes more sense to me and reduces the number of connectors.
While the bolt isn't captive on the headlamp unit, there are two ridges which stop the bolt head from turning once it is tightened up, so securing the headlamp and indicator pod is straightforward, once I found some leftover washers in one of the suspension bags! The indicator lamps fit directly into the pods (the holes are pre-drilled perfectly) All that was needed was some M4 bolts and lock nuts.
Spent the afternoon trying to make sense of the wiring loom, which isn't that straightforward on a LHD car, I think I have it sorted though, hopefully some picture of it cleaned up a little tomorrow.
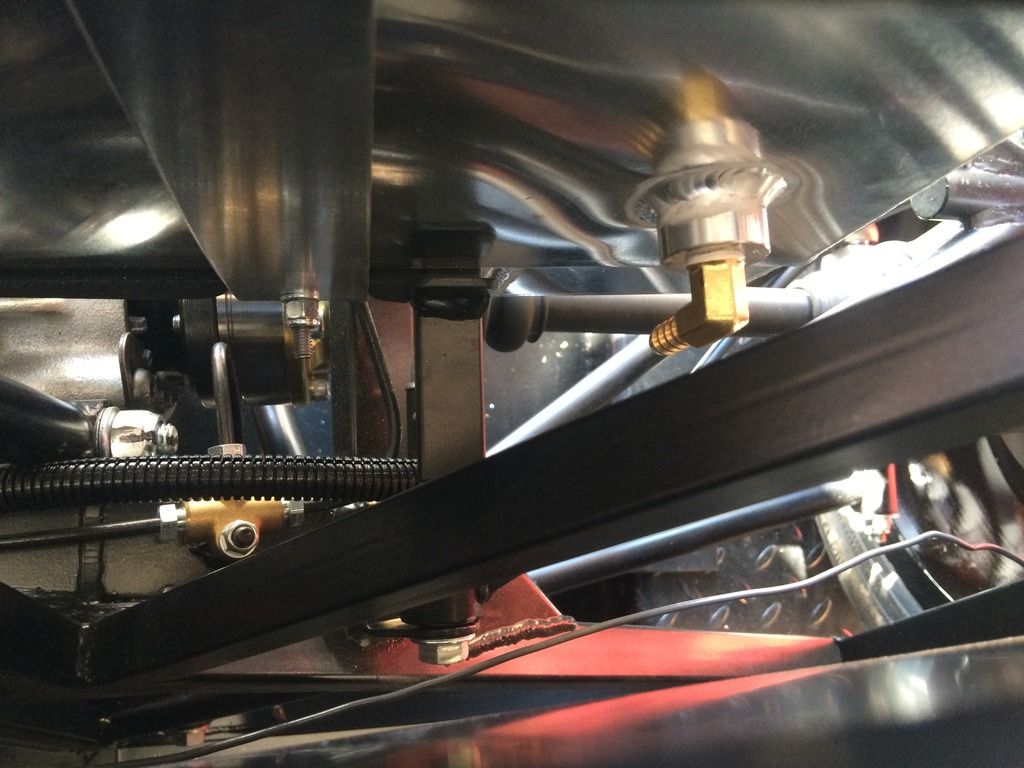
I also received the right-angle inlet for the gas tank from Westfield, so I can finally connect up the fuel lines, or I could, if I had my swirl pot. I will just hook it up without it for the time being.
 |
| I've been waiting for this! |
Went on the hunt for the banjo fitting for the feed on the fuel rail (thanks scienceofspeed for giving me one they didn't need). Also found the biggest non-spill bike battery I could find, which fits exactly in the housing by a happy coincidence. Pictures of that tomorrow. Hopefully it will have enough oomph to turn the engine over.
Took the TR3A out when I went to get the parts - all in all I was out for three hours in 100 degree heat, and the temperature gauge really only climbed coming up the last hill to the house (it just boiled over a little when I got home, as Triumphs, and other old British cars tend to do when they are hot and bothered). Max and I had retarded the timing on the ignition over the weekend as it was pinking quite badly under load - have been fiddling with it since, gradually advancing the timing, and I think I hit the sweetspot - only the slightest pinking under load when the engine was really hot. It will need to be adjusted again after the summer when the weather cools down to get better performance. I on the other hand did not fare as well - Note to self, do not take a convertible out in the middle of the day in the Arizona sun. I was exhausted when I got back, and probably very smelly. My left are is now the same color as the car!
No comments:
Post a Comment