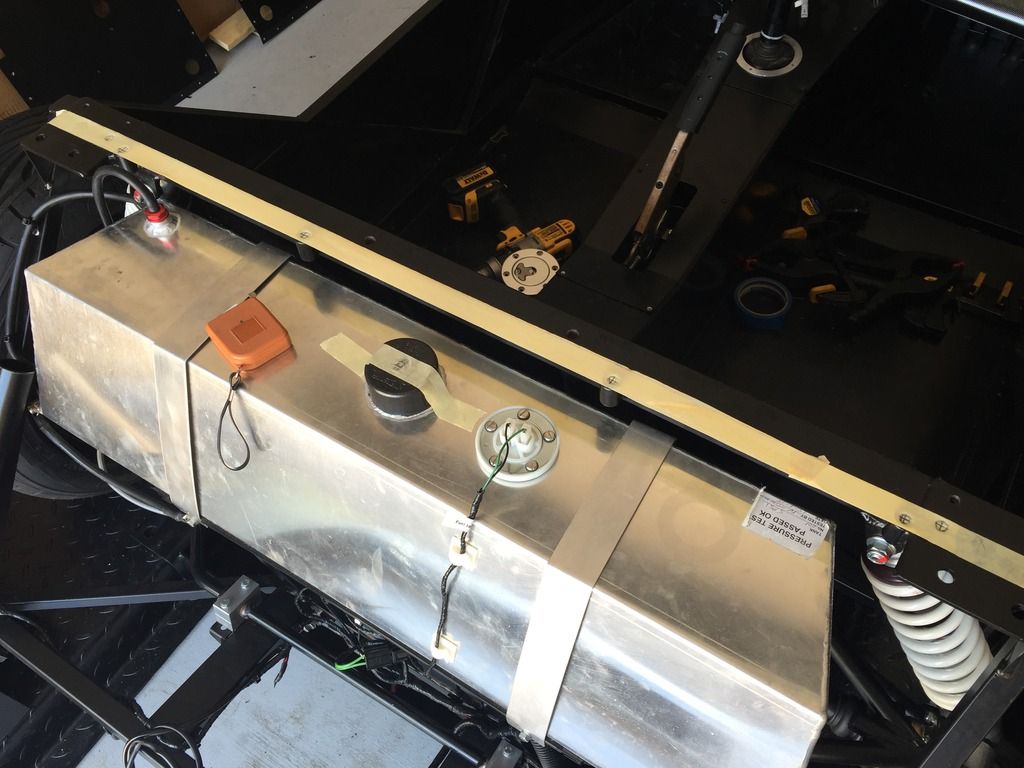
Before fitting the body, I did remember to take the measurements for the harness attachments, roll bar and gas tank. I am going to try a shortcut to position all the holes. I took two pieces of masking tape stuck face to face, to make a strip that I could stick across the holes and mark up. After drilling up through the roll bar mounting holes and locating them properly, I can just align the marked holes on the tape and the harness holes should be laid out across the bodywork - we will see how that works out. I had actually thought of using this approach for the aeroscreen, but it should work well here. Of course, before drilling, I will check agains the measurements I took!
 |
| Mounting holes marked up before fitting the body |
The fit isn't fantastic, but seeing various blogs that have said they spent a lot of time fettling only to arrive at something that wasn't much better than what they started with, I decided to keep fettling to a minimum - this is a track car, after all. In particular, the gap between the side panels and rear tub is large and uneven - I am not sure what can be done about it - I already have a small crack on the driver's side.
On the advice of others, I fitted the aluminum bracket that supports the rear tub under the car first - that made fitting everything else a lot more straightforward. I did measure and mark the centre of the rear tub so that it was easily aligned with the centre of the chassis.
It still took the best part of the afternoon and early evening to do - the wheels came off more than once to do the bolts that attach the wings to the sides. And the right side will have to come off again when I take the body panel off to cut the hole for the exhaust, after marking it up in place.
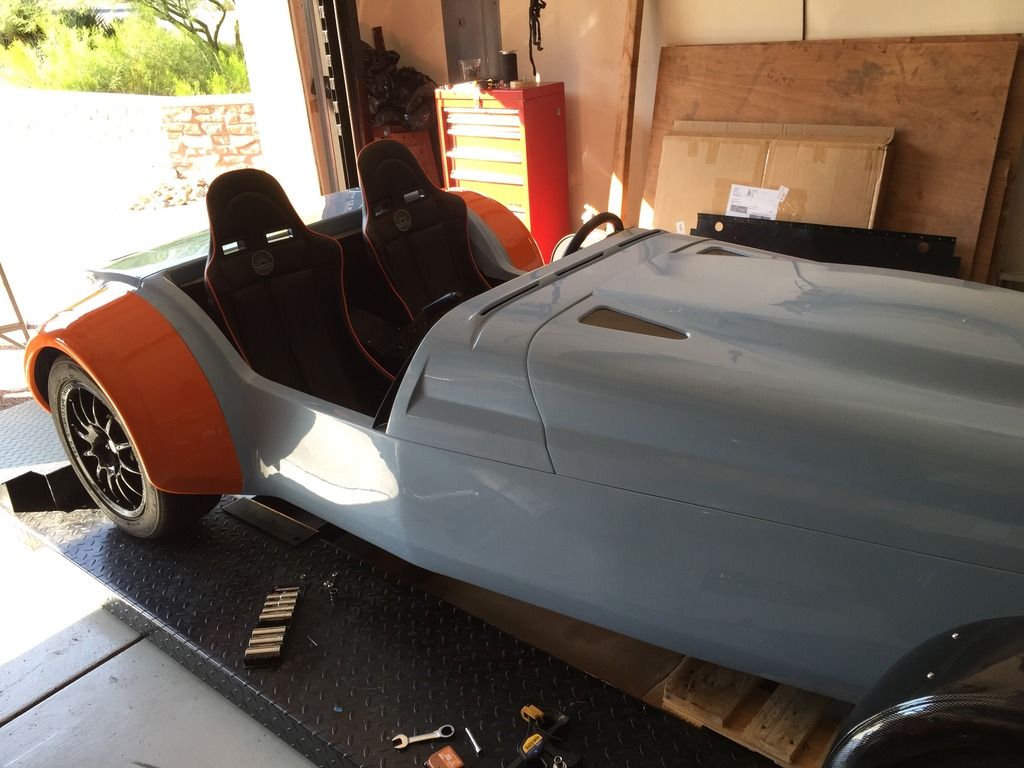
This is what it looks like at the moment:
 |
| 6 hours later . . . a car |
 |
| It's a shame this side has to come off again so I can cut a hole for the exhaust |
The bonnet and boot lid were both damaged in transit and will be replaced - I have used the damaged panels in the time being to test the fit.
Decided to put off drilling or cutting any holes today - best to do when I am not tired!
No comments:
Post a Comment