 |
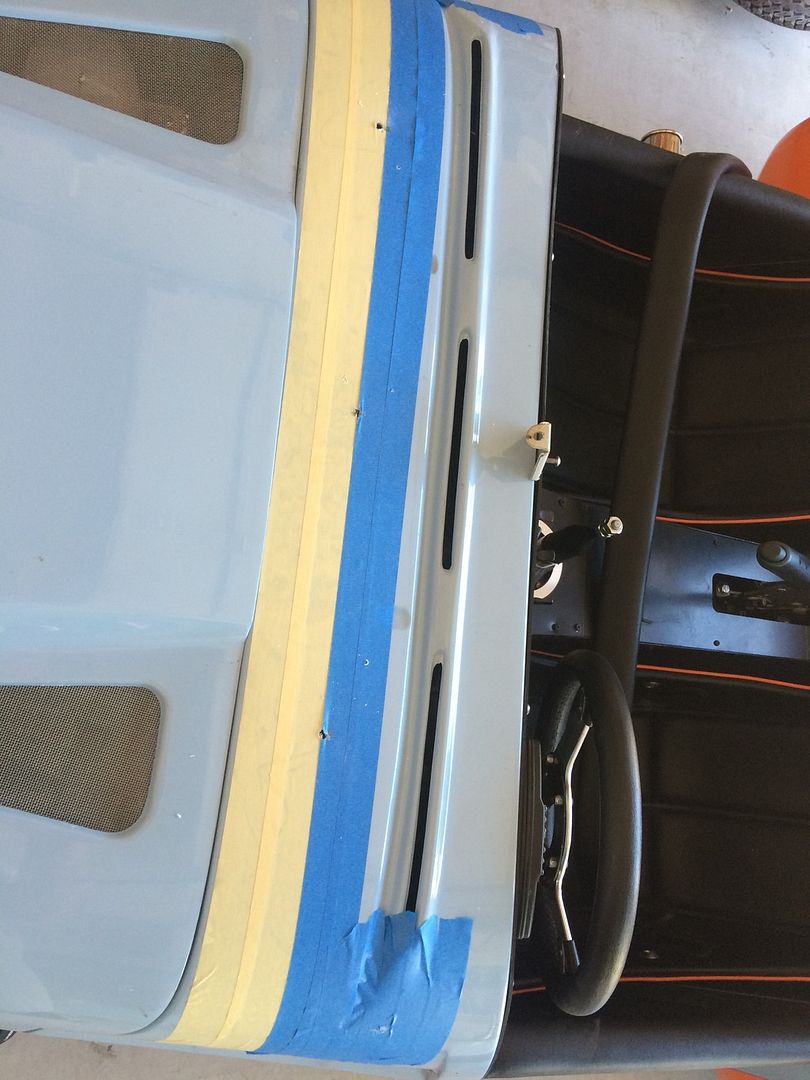
| First three holes made by eye. Actually with a drill, as I don't have laser beams for eyes, but you know what I mean |
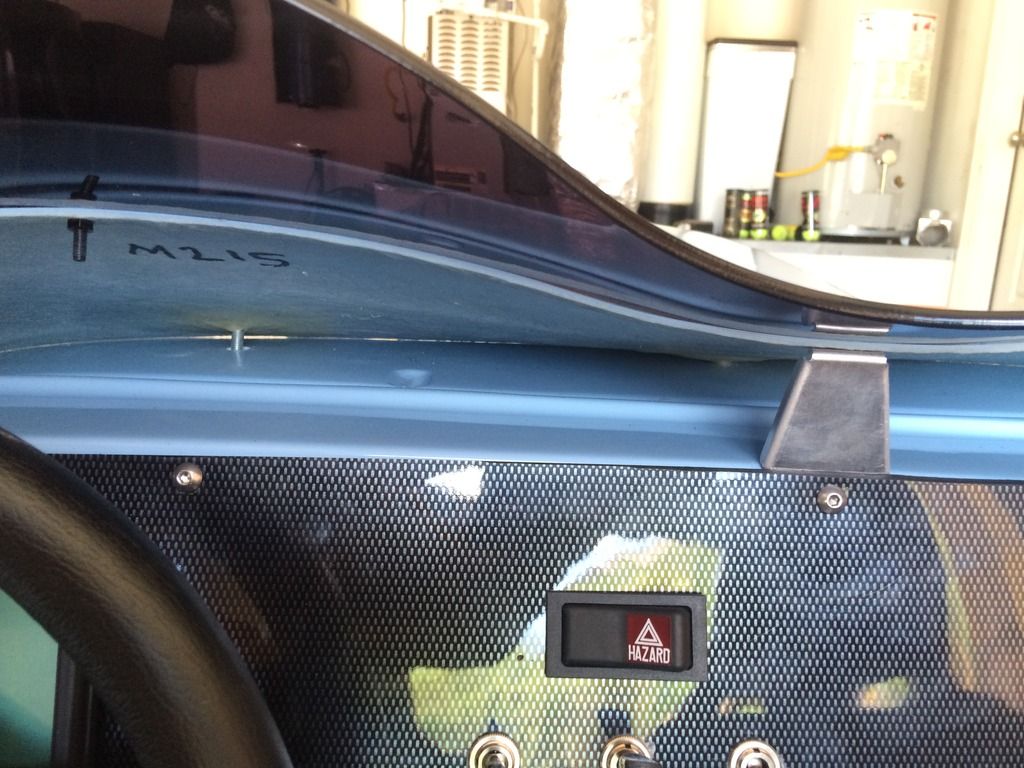
I don't know if I was lucky, but the side bolts were easy to locate - I just made sure the front of the aeroscreen overlapped the dash at the sides - I was able to mark where the shortened bolts were touching the scuttle and drilled oversize holes there - no need for slotted holes - the aeroscreen is flexible enough to work the bolts through with a little bending.
 |
| view from the cockpit |
The only thing I am a little concerned about is the bolts go through the scuttle at an angle - I put large washers on the back prior to tightening the nylock nuts, but I am wondering if there should be some spacers in there to take the load. I am also wondering if there should be a finishing strip to the front of the aeroscreen to stop it chafing, to seal the gap and to make it a little neater - the front of mine is quite rough (I have been on to Westfield about this, we will see what they say).
 |
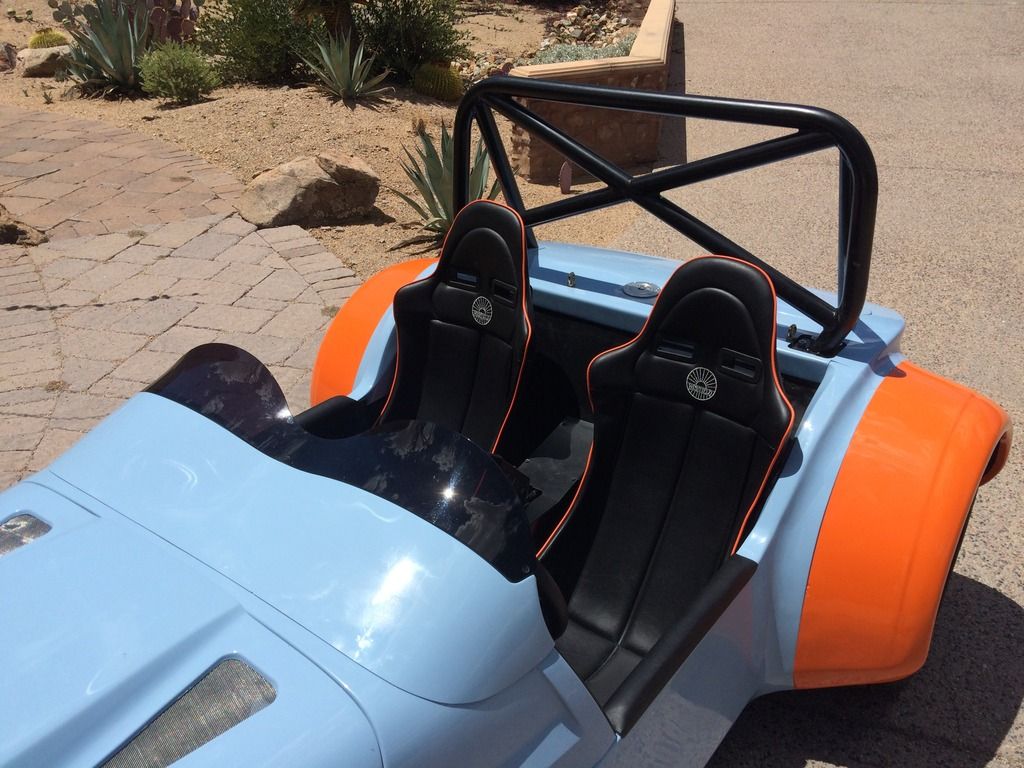
| Finished aeroscreen |
 |
| . . .abd from the other side |
Finally, I fit the wing mirrors. Unfortunately, fitting is a little hit and miss (I was basing the placement on pictures I had taken of the demo car last year at the factory) and after fitting the driver's side, I found that I couldn't get the body of the mirror parallel to the ground (it points up in the air a little). With experimentation, I was able to get the passenger side level by making the front mounting hole a little higher. The driver's side will come off at some point for hole adjustment.
So I went out for a little blat to test the aeroscreen and mirrors. The screen works well, but with the lowered floors, I am sitting too low - I had thought putting the runners in would be sufficient to raise the seats enough, but apparently not. I had omitted the spacers, so I will put them in to see how much of a difference that makes, but I think the seat needs to be at least an inch higher - I found myself peering around it.
I have found the car to be very low, or our driveway very steep. if I don't go out at an angle, the hoop under the gearbox smacks the ground at the top of the driveway - I took a look underneath yesterday and it is already in a very bad way - Fortunately I can raise the ride height by adjusting the springs - perhaps I should do that while it is being used on the road (as opposed to the track). Another job for tomorrow.
Finally. . .
The spacers for the harnesses eyelets arrived by airmail today (but still no swirl pot) so I can fit them tomorrow and hopefully go to the DMV. Fingers crossed! I do still have to wire in the speedo sensor and do something with the mass of wires under the dash, most of which are not used. I could just cut a lot of them out, but I want to keep them just in case I do want to turn Mr. Westfield into a road-going car at some point.
Have been trying to upload the complete time-lapse video but with no luck - watch this space!
No comments:
Post a Comment