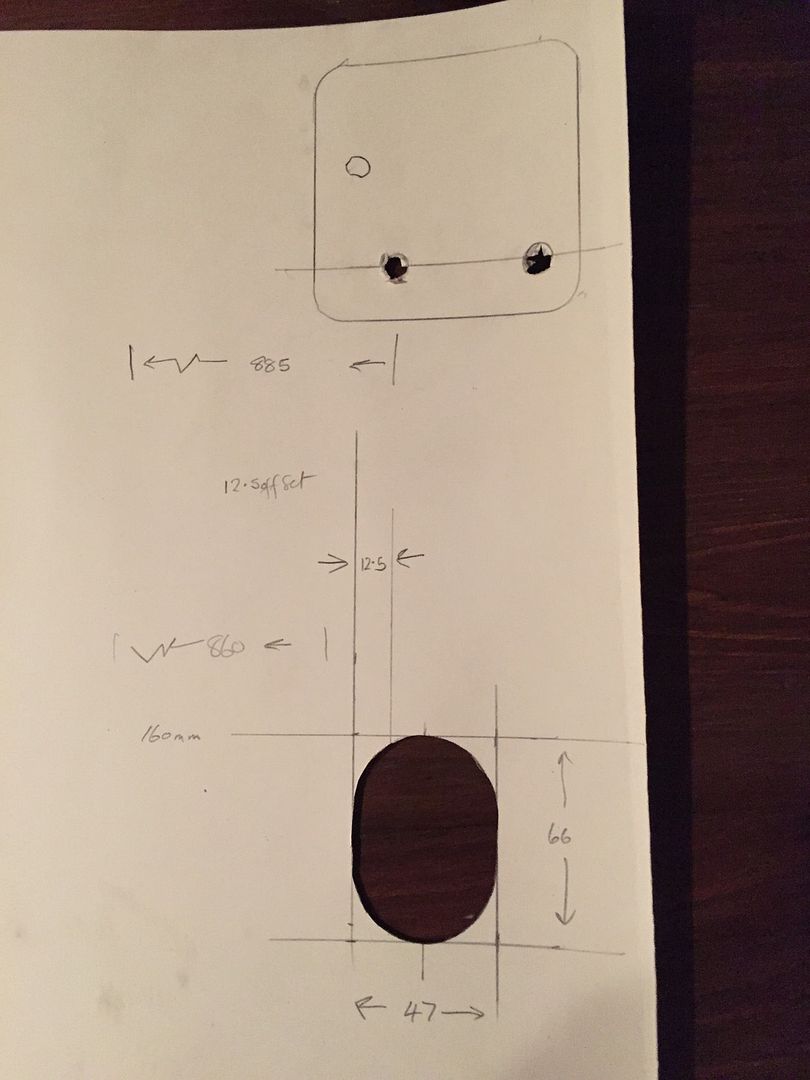
Key measurements were:
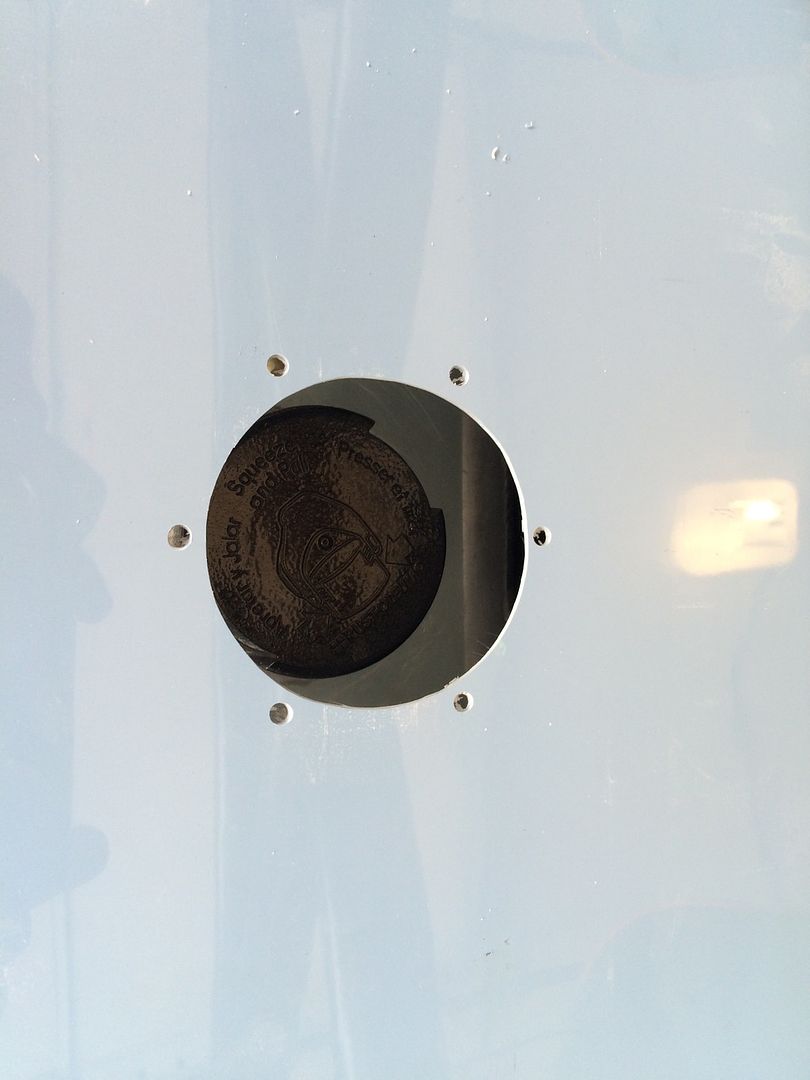
- Hole for rear stay: 47mm x 66 mm rounded to 47 mm diamater, which is the diameter of the spice jars in the kitchen, so I pinched a jar of curry for the job (see below)
- Spacing for rear stays (inside to inside): 860 mm. The rear stays are parallel on the half cage, so none of the tapering issues other builders have referred to with the FIA roll bars.
- Spacing for centers of innermost mounting holes on front mount: 885 mm. This means that inside of rear stay is offset 12.5mm from the centerline of the mounting hole.
- Centreline of mounting holes on front plate to inside of rear stay: 160 mm
The side impact bars come with spacers to level out the cage in case you only fit the impact bar on one side. They were perfect to outline the hole for the front mount, after drilling up the holes from below. The spacer was not a perfect match for the mount, but it was close enough. Strangely enough, the third bolt hole wasn't drilled in the spacers, but the cone drill made easy work of that (I put the spacers in so that the height of the front mount was at the level it will be when the side impact bars are modified and mounted):
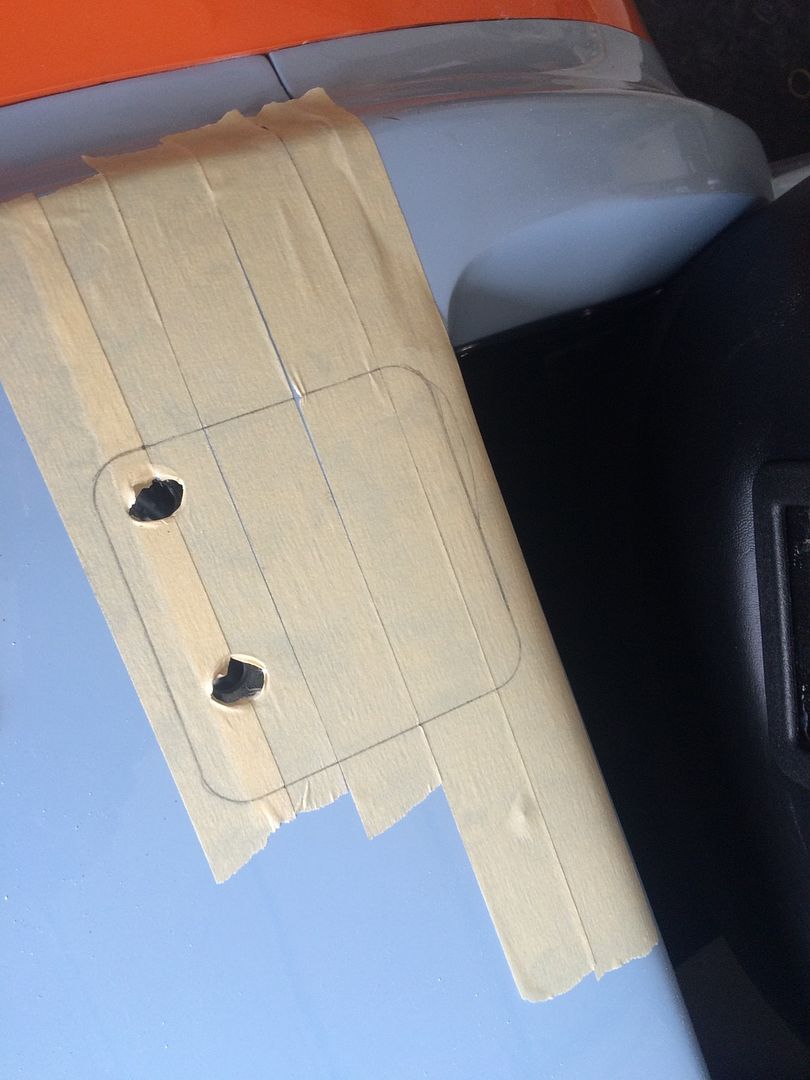 |
| No putting it off any longer. Time to get cutting |
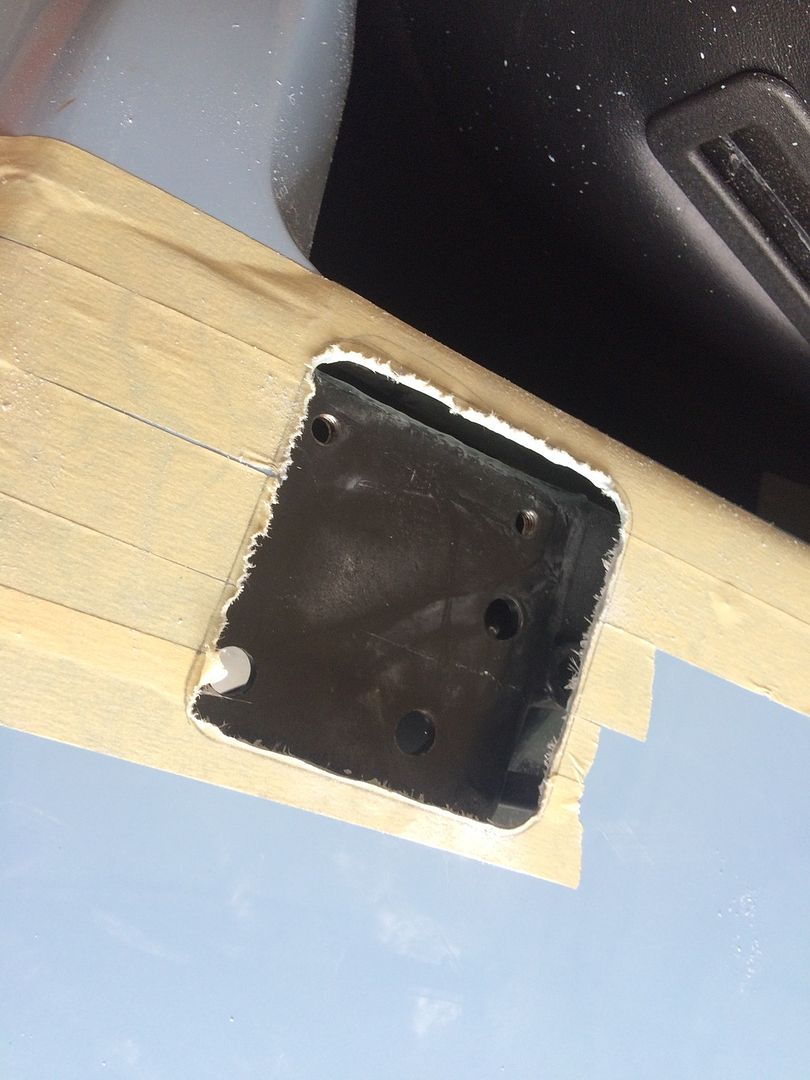 |
| Not too bad actually. Just need to go carefully with the Dremel as it has a mind of its own sometimes |
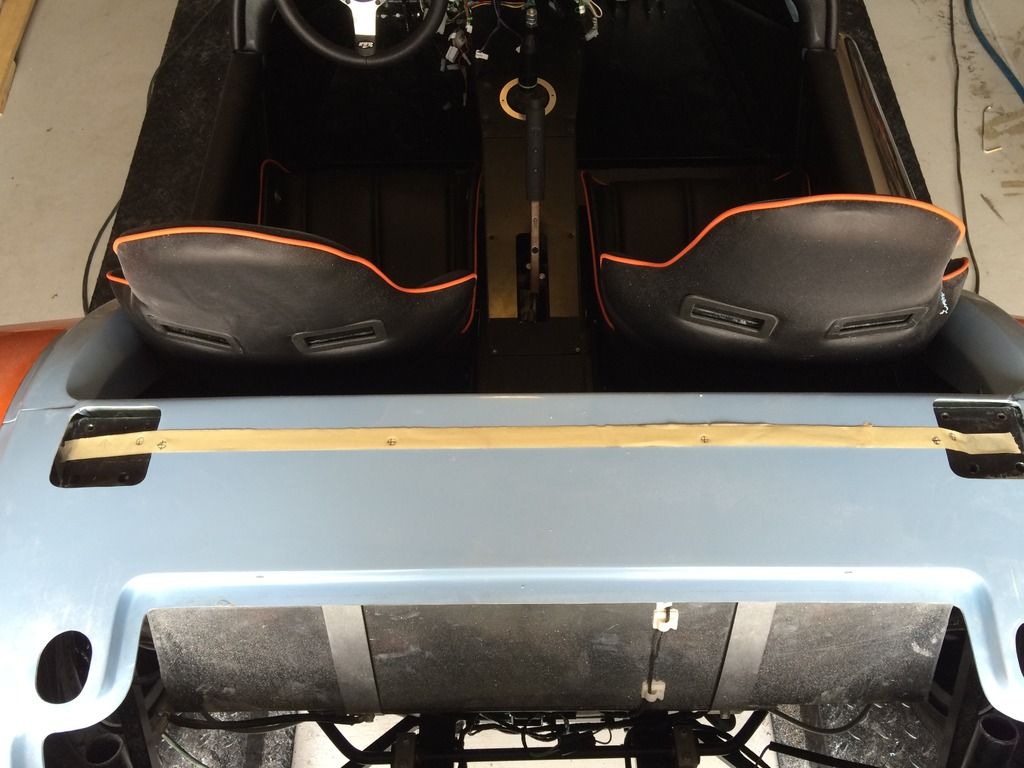 |
| The moment of truth for the masking tape template experiment |
 |
| Gas cap hole drilled and ready to mount |
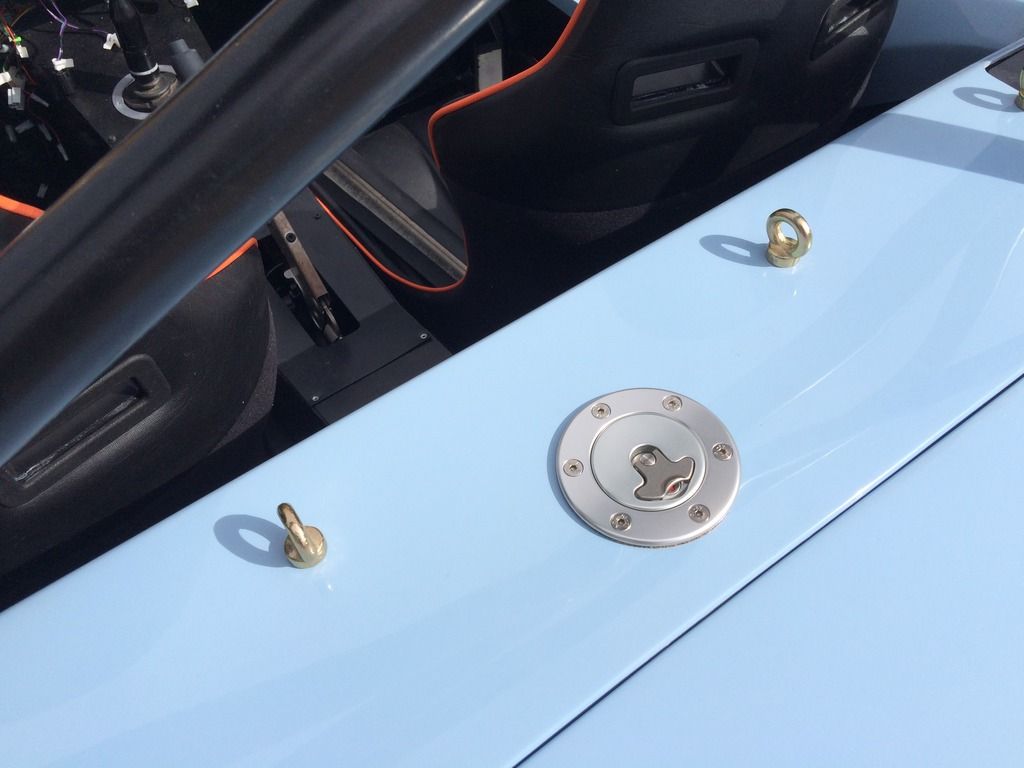 |
| The finished item |
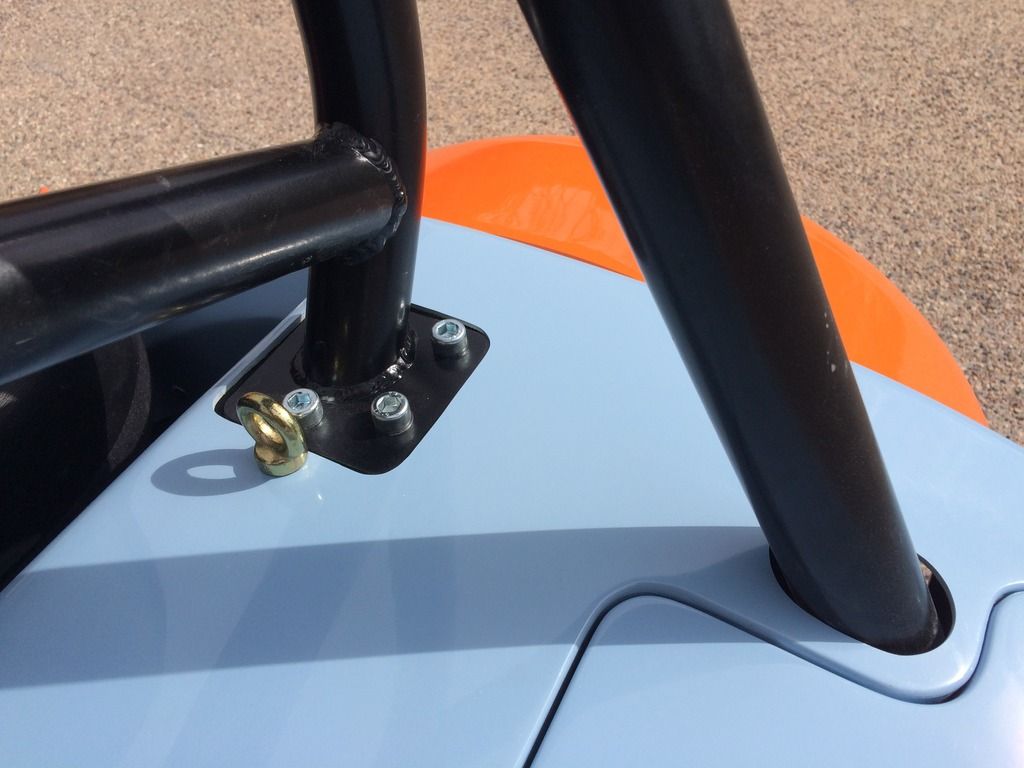 |
| Hole around rear stay is a little oversized, but that is perfectly acceptable in my book |
The holes around the rear stays are a little larger than needed, but that is fine. I may get some rubber edging to finish them off. By the way, if you are careful, it is possible to do alone - you just have to attach the bottom stays to the chassis at the right angle first, so that the stays on the cage can just slide over them (do that before you fit the body). The lower bolt won't fit because the light housing is in the way - I am waiting for the right sized bolts so I can't do it up at the moment anyway. I imagine one bolt each side should be sufficient, given there is a single mounting bolt at the bottom (although it is a little thicker). I will have a think about this and possibly drill another hole so two bolts can be fitted - it will distribute the load in the event of inverted driving.
Tomorrow I will screw in the dashboard and fit the aeroscreen - I intend to use the same method as for the harness bolts, making a template out of masking tape. If I have time, I will do the orange cycle wings also, which will info some fiberglass work.
I feel a trip to the DMV coming on this week, but first I will need to hook up the speedo sensor and check the oil pressure.
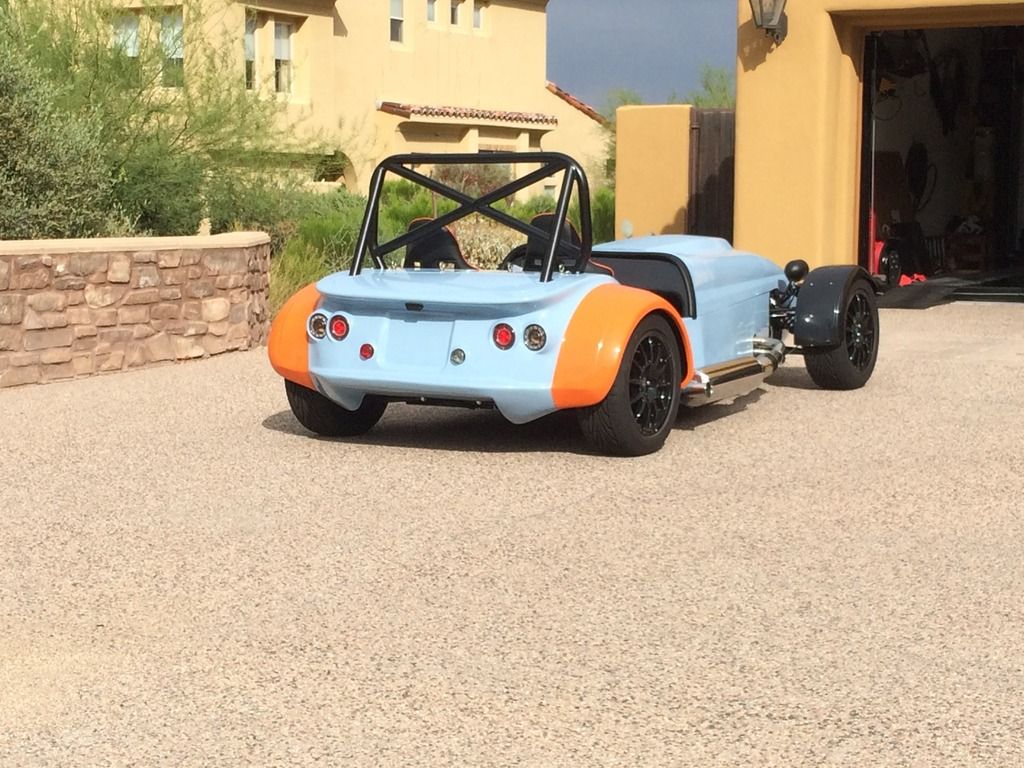 |
| Half cage fitted |
The half cage does sit high, but that is good. When you are upside down at the track, a bit of clearance is a good idea.
No comments:
Post a Comment