 |
| I think this one is a little worn, sir |
 |
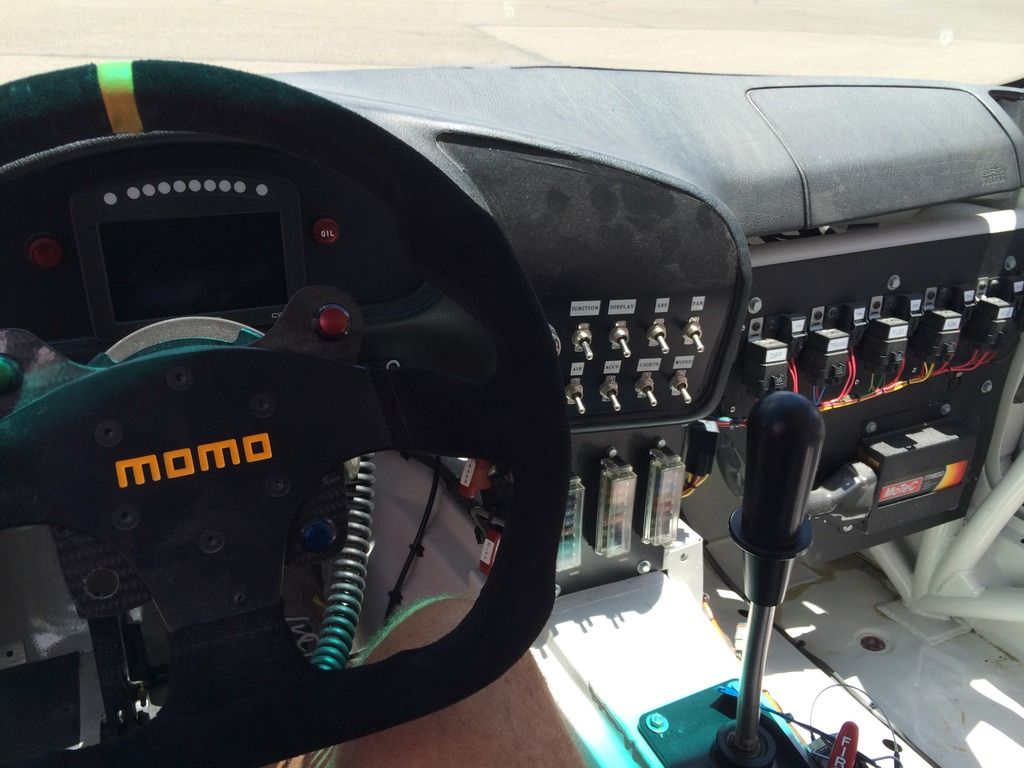
| Now let me see, where is the on button? |
Then fitting the bonnet and side panels and aligning everything was a lot of faffing, clamping and adjusting. I decided to rivet in the passenger side body panel first (as I had already started when I fitted the exhaust). I couldn't find any countersunk rivets in the kit (the manual said to use them, no doubt, I will find them when I am finished), so I just used the large-headed rivets provided, in the theory that they will keep the bonnet from rubbing on the side panels when fitted. Afer fitting that, I looked at the other side and the body panel was much further back, so I had to pull it forward quite a bit to get the same clearance to the front anti-roll bar and to square up the nose with the bonnet, which means the gap to the rear bulkhead isn't consistent from side to side. It won't be noticeable with the seats in place.
I cut a slotted hole in the bottom of the nosecone so that I could adjust the gap to the bonnet. Not that I intended to have a slotted hole, it's just that the first attempt was in the wrong place and it needed fettling, but a slotted hole is actually the best way to make sure everything aligns properly. It seemed that the nosecone was very flimsy at first, but once the three bolts are snugged up, it is quite rigid (but I am a little concerned that the rivsert is below the height of the body panel that the back of the nosecone sits on, so I may add a washer as a spacer, otherwise the nosecone may develop some cracks over time).
To make sure everything aligned properly before drilling the two top holes for the nosecone, I fitted the scuttle, which involved another trip to the hardware store to pick up some M6 bolts. Trouble was, I thought I wanted 16mm bolts, but I actually needed 20mm, so it will be back to the store tomorrow. For the time being, the 16mm held, but only just. To locate/align the holes in the scuttle, I used a trick of fitting a bolt in the rivsert first and putting paint on the top, and then placing the scuttle in the correct place. This marked the bottom of the scuttle and gave the exact spot to drill. I did the same for the nosecone:
 |
| just a little dab of rouge here . . . |
 |
| . . . and the spot marks, well, the spot |
Brilliant, if I do say so myself. I also ran around the locating blocks on the body panels with a Dremel prior to fitting to ensure a snug fit. Despite repeated vacuuming, there is now blue/white powder everywhere! The Triumph, which was sitting next to Mr. Westfield now needs a good clean!
Cutting the slotted hole in the bottom of the nosecone really helped getting the alignment with the bonnet correct. So perhaps it wasn't a mistake, after all!
Tomorrow, I will fit the latches and the locating pins/grommets. I am not entirely sure how to do it, but it will mean that the bonnet will be securely connected and won't fly off on any of my test drives. Hopefully the replacement bonnet will arrive soon, as this one sags due to the cracks that happened in transit.
Went for a short blat around the neighborhood. Have decided that 1st gear is nigh on useless, and the the turning circle is similar to a London bus!
I must say I am pleased with how Mr. Westfield is looking. His nose-job really helped. The half cage and fuel filler cap will be fitted tomorrow. The side impact bars need modification to work with the lowered floor. That will have to be done once it is all road legal.
I did get it insured yesterday, so with a bit of luck I can try to get it titled and registered next week, but there is still a lot to do. Orange cycle wings are on the list also!
 |
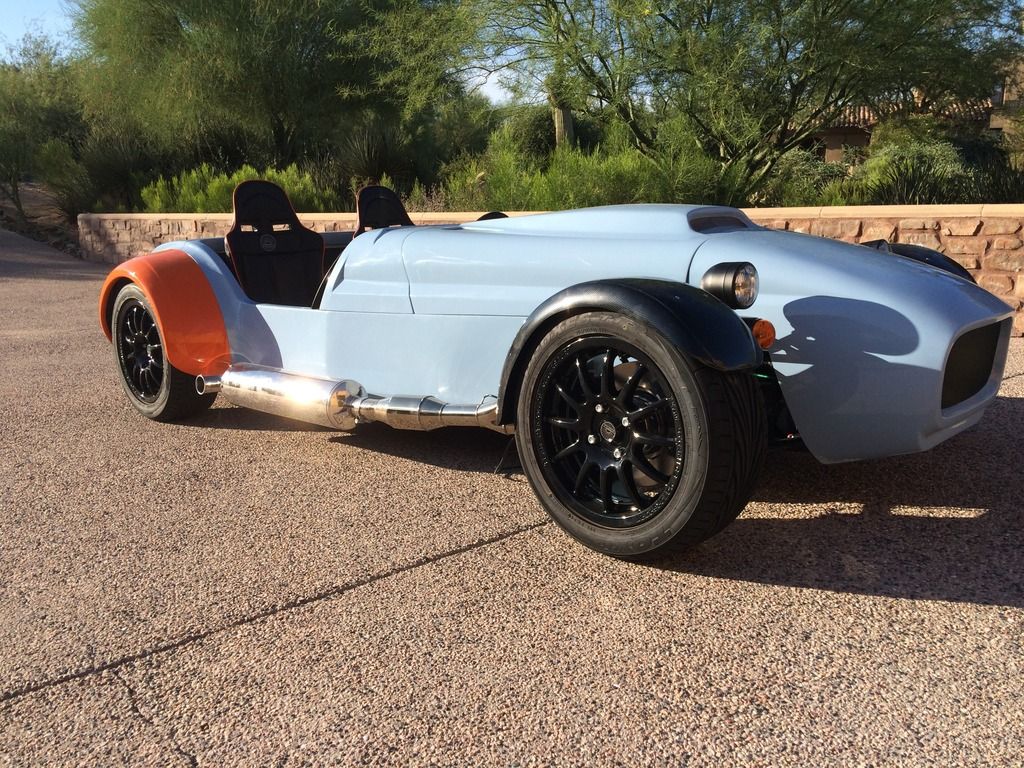
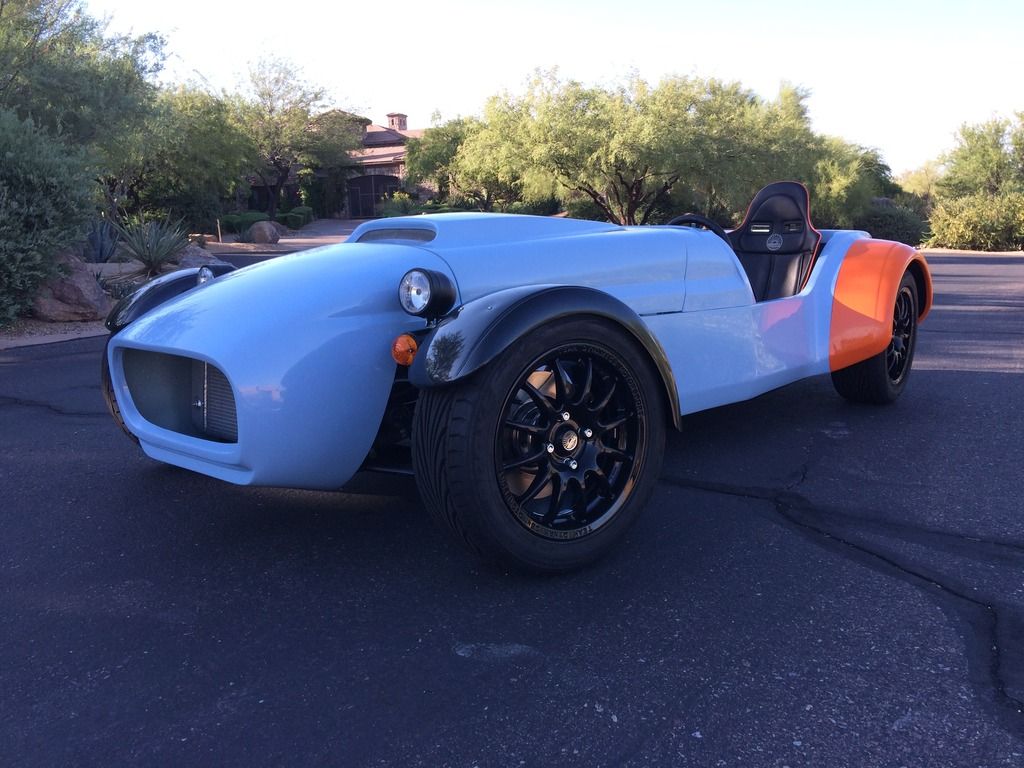
| Looking good in the driveway |
 |
| A pre-blat photo-op |
The panel fit isn't perfect, but as this is intended to be primarily a track car I am not that concerned.
 |
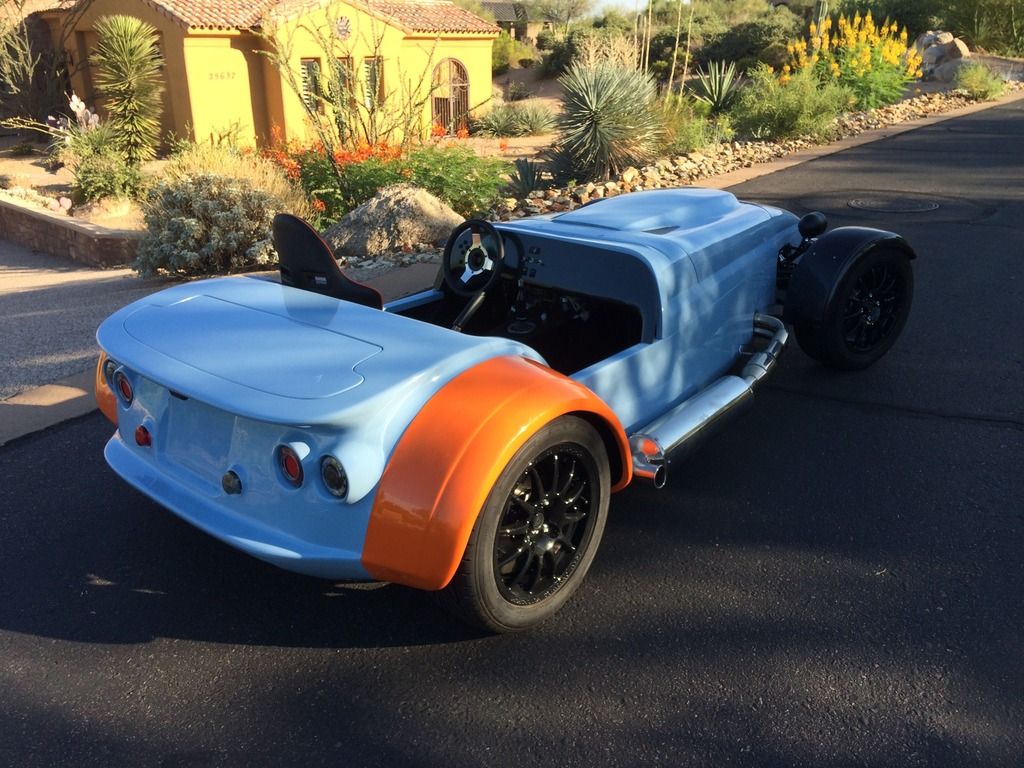
| Mmm. I lost a seat somewhere |
Quite a difference from the Dutton that inspired it in 1984:
 |
| Mr. Dutton on Kingwood Common, all those years ago. Thinking about it, those wheels were way too small. |
No comments:
Post a Comment