Not much done today - a bunch of fiddling, faffing and fettling.
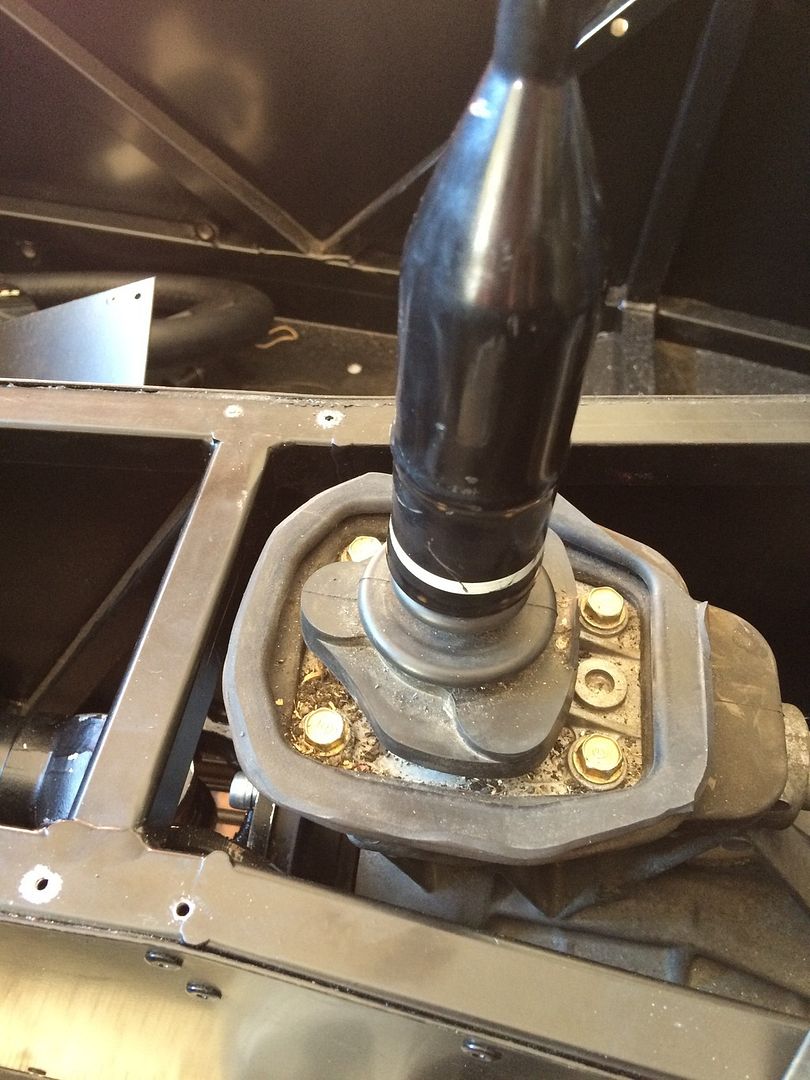 |
| Gear shift sits high in the tunnel |
 |
| Gear shift with shiny ring, but no gaiter |
I figure the ring with four holes in it is just to finish the hole (mine isn't very round!), as it doesn't seem to be a very good way to secure the gaiter (I see some builders have fitted the ring underneath to secure the gaiter), but there doesn't seem to be much (any) room between the rubber bottom of the gear shift and the tunnel top (I did cut down the rubber surround so that it would seal against the tunnel top, more or less).
I have not tried the handbrake gaiter, but that will be the same kind of issue.
As others have noted, the reverse selector switch plug does not match with the plug on the harness:
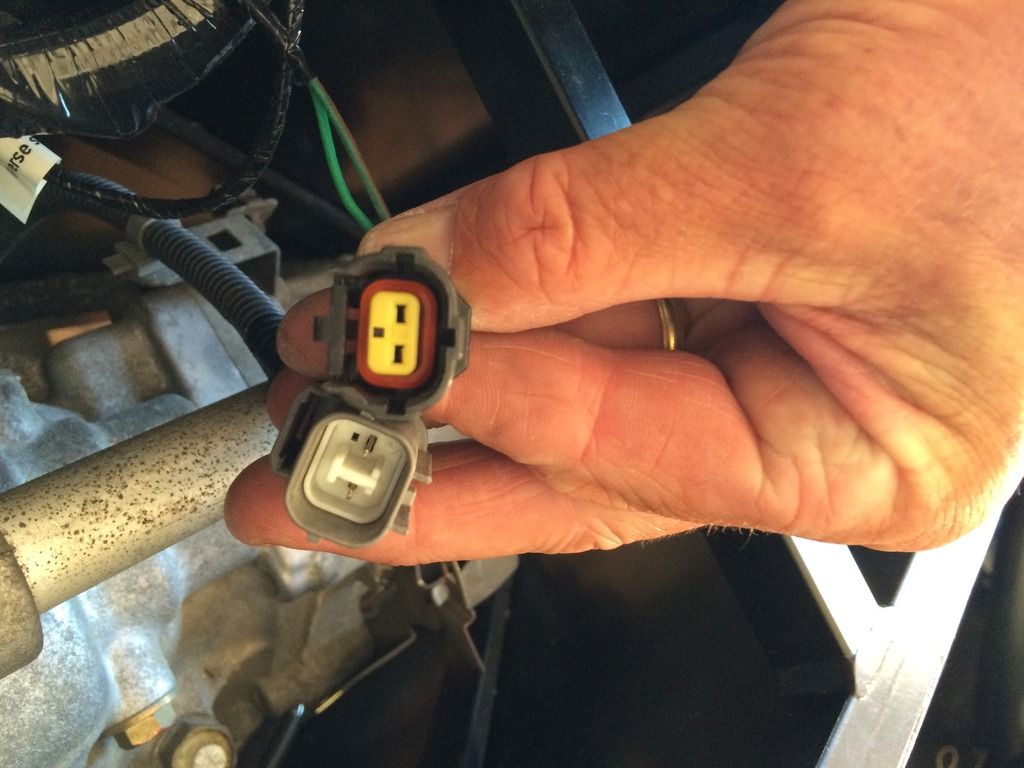 |
| Honda plug, beneath, does not play well with Westfield plug on top |
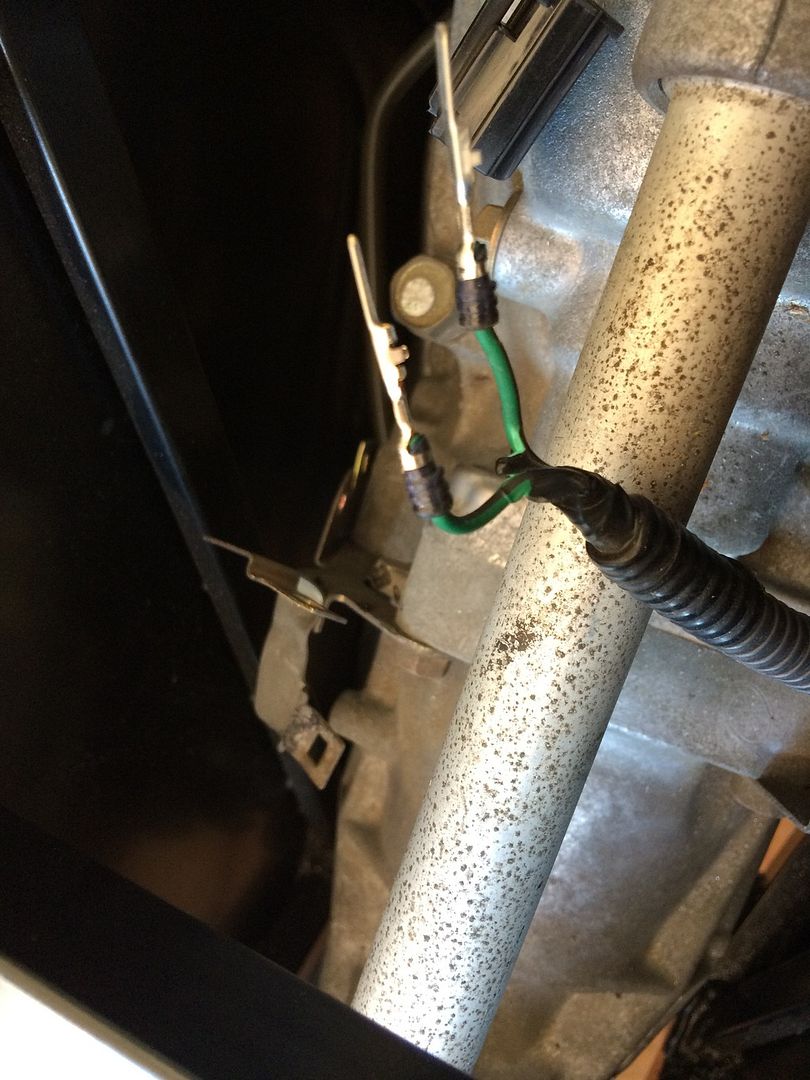 |
| Pins removed from the Honda plug |
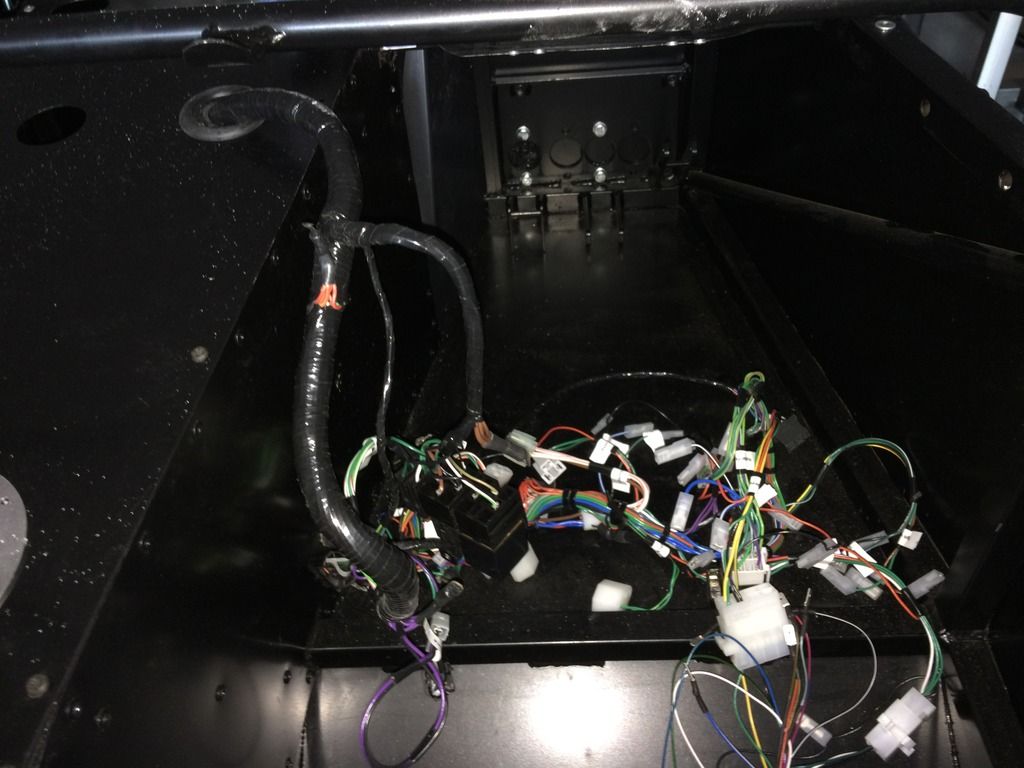 |
| What a lot of wires - just need to figure out who goes where |
All of the wires and connectors can be fitted though a single hole in the transmission tunnel top - no need to cut the panel as instructed in the manual - just take the relays out of their housings, separate the housings and feed them through before the rest of the harness (they won't fit through if you do the other wires first). Hopefully the engine harness will fit through as well - there is plenty of room.
Now all I have to do is to figure out which wires on the Dash 2 adapter harness go to which plugs. I guess I will need to look at the manual (normally my last resort)!
Another interesting thing - I took a look at the standard dash supplied and something didn't quite seem right:
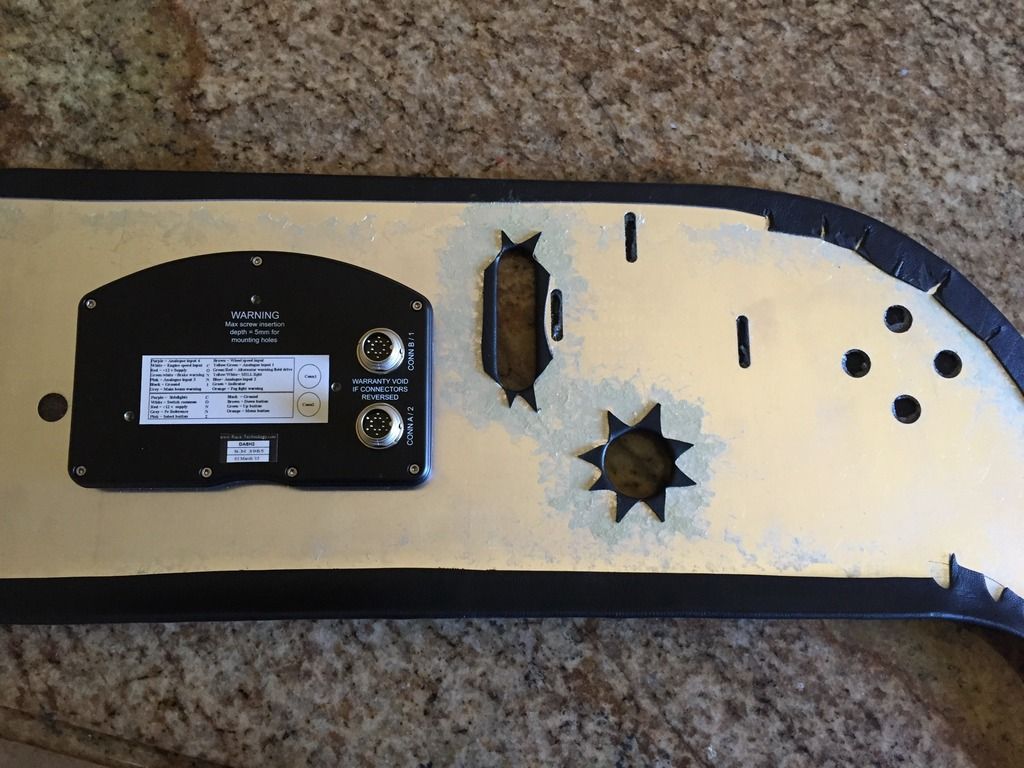 |
| A mirror image of a RHD dash does not a LHD dash make! |
Good job I checked before transferring the holes to the carbon effect dash they sent last week.
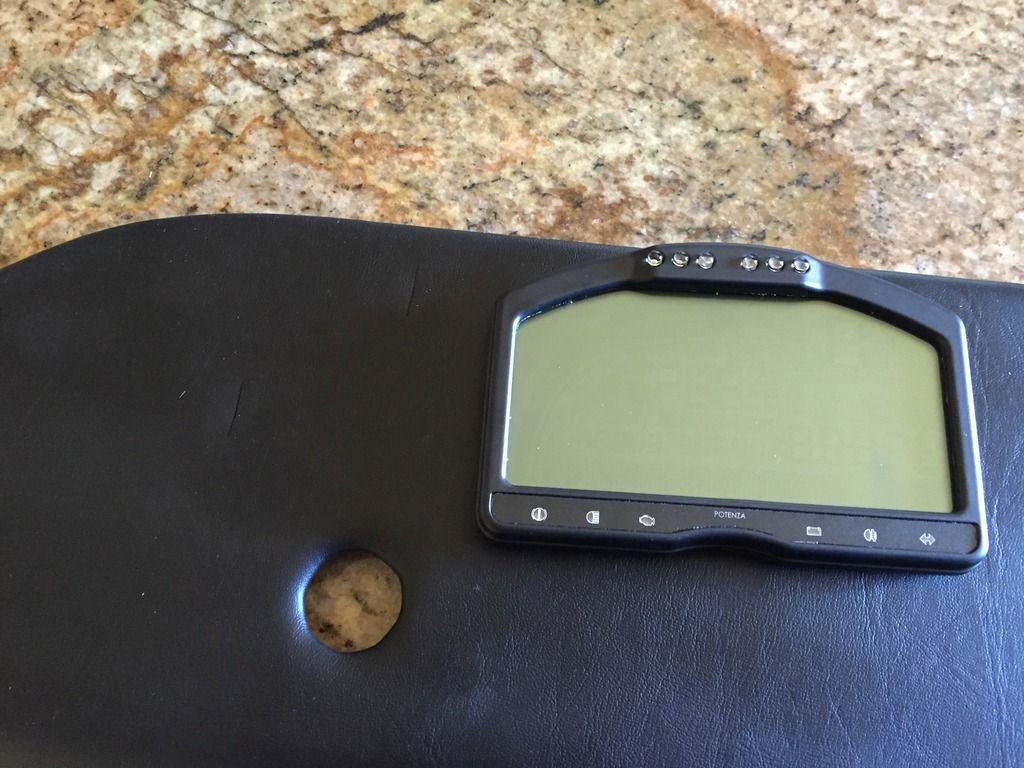 |
| The unit is supposed to mount directly over the hole, which is for the steering column |
Also did some fettling of the rear body shell so that it would fit better - it is still a little tight with the body sides in so I will have to file it down a bit more. With adjusting the back shell, I am able to move the body sides back so they sit better, clear of the front ARB and so the rivsert in the chassis for the scuttle is actually covered by the scuttle, and not in the gap, as I have seen in some other cases. I will fettle some more later in the week - won't be able to get much done as I do have to work this week and have my retirement dinner in Chicago.
Apart from everything else it was 100 F in the garage today - a little warm to do anything really productive.
No comments:
Post a Comment