Couldn't reflare the brake lines as I couldn't get the correct tool locally - was able to get one quickly online (same-day delivery from Amazon), so will finish the brake lines tomorrow - will pick up some brake tubing so I can make a master to brake pressure switch line of a sensible length.
The snake was back again yesterday - I nearly trod on it as it was coming into the garage as I was walking out - I was on the phone and was not paying attention. Now I know why they tell you not to leave the garage doors open. Security came to take it away - it wasn't too happy about being picked up.
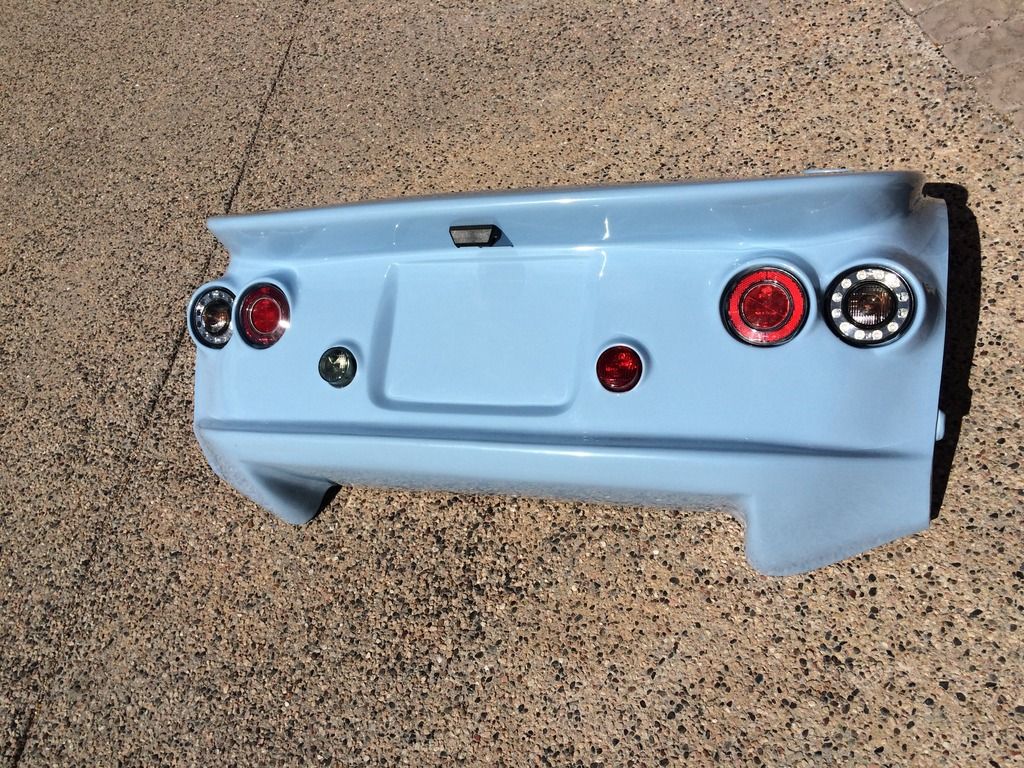
As there isn't much else I can do, I fitted the rear lights:
 |
| Pretty lights |
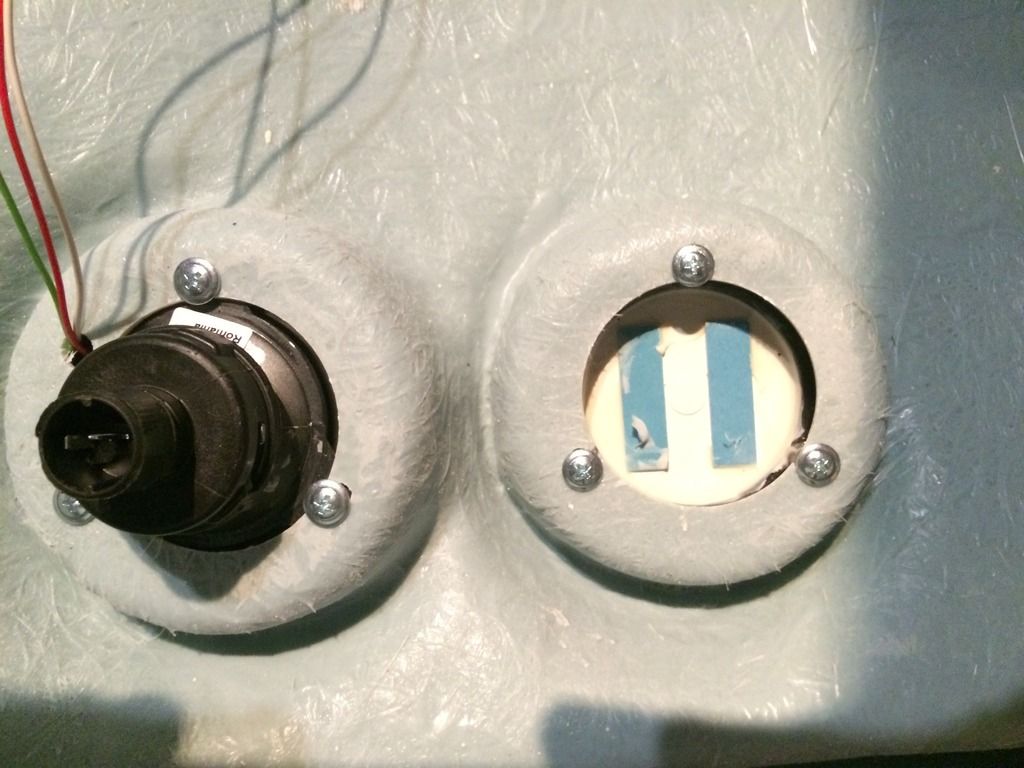
As the LED ring/indicator assembly has mounting holes, I decided against bonding (the approach suggested in the build manual) and just screwed them in in the same way as the reflectors, being careful not to use screws that were too long - I checked the LEDs worked before and after screwing. I had found 12 screws in the body attachment kit, but they looked too long, so I replaced them with 1/2" self-tappinig screws that held fine and have large heads.
 |
| Lights form behind the curtain |
I couldn't find enough M5 nyloc nuts in the body fitting kit to fit the reversing and fog lights, so I took them from the cycle wing fitting kit (they had sent me two as I had ordered both the grip and carbon effect wings). I put washers under the tabs of the light assemblies and I noticed they do not sit flush and were bending when the nuts were tightened up.
Fitting the numberplate light was straightforward, with the exception of drilling the hole for the locating pin on the wrong side! That was an easy fix.
I would try fitting the body, but I don't have the rear bulkhead in place (waiting from the factory) and I am not sure the car will get out the gate without being tipped on its side, so I will think I will wait.
Found a crack in the gelcoat on the rear panel while I was working on it - another victim of the poor packing.
No comments:
Post a Comment